How To Grow Kiwi Fruit in Your East Bay Garden With 'Vincent Female' & 'Tomuri Male'
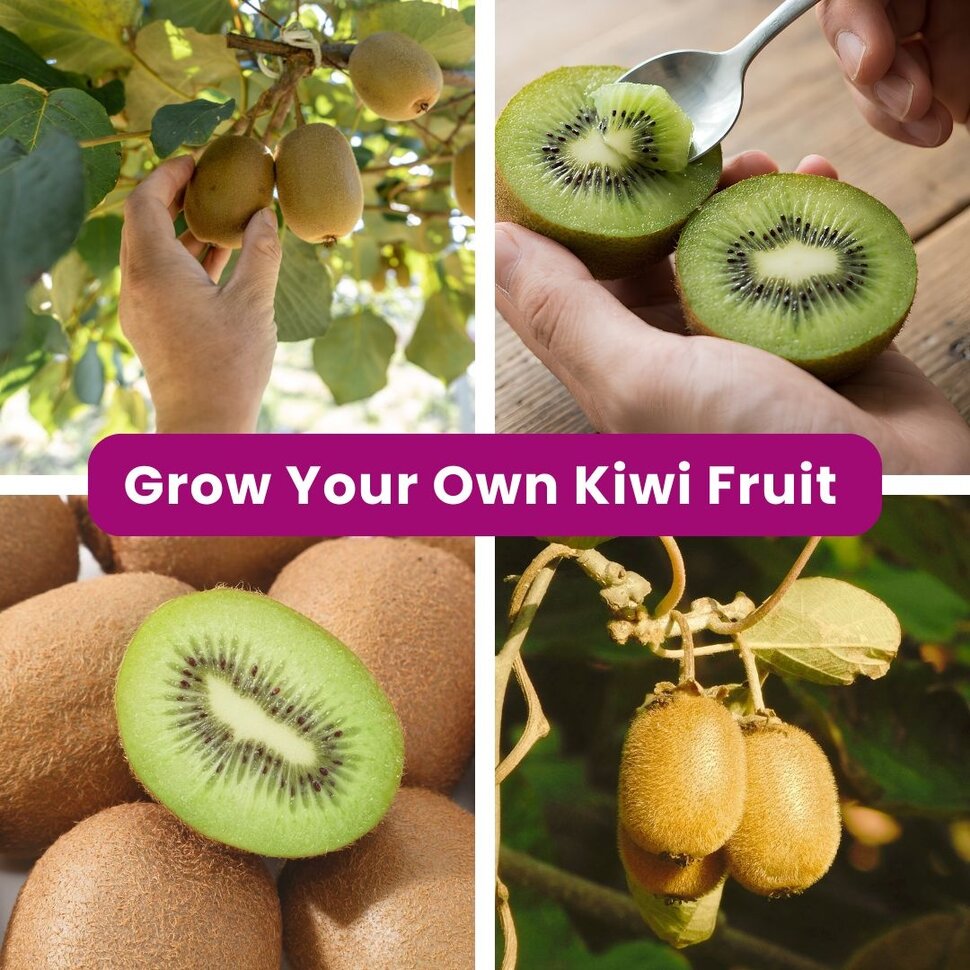
Growing Kiwi fruit is an edible delight for gardeners in the San Francisco East Bay. With the right pairing of vines – like Kiwi ‘Vincent Female’ and its pollinator Kiwi ‘Tomuri Male’ – you can enjoy a bumper crop of this nutrient-dense fruit right from your own yard or patio.
These vigorous vines thrive in our Mediterranean climate when given proper soil, irrigation, feeding, and support. Whether you’re planting in-ground in cities like San Leandro, Oakland, or Hayward, or growing in large containers on a balcony, this guide will walk you through best practices for planting, transplanting, and caring for kiwifruit vines.
Why Choose Kiwi ‘Vincent Female’ & Kiwi ‘Tomuri Male’
Hardy and productive, the Vincent Female produces large, flavorful kiwi fruits and pairs reliably with the Tomuri Male pollinator. Kiwis are dioecious – meaning male and female flowers are on separate plants – so you’ll need both for fruit production. For most home gardens, one male can pollinate up to 6 female vines when planted nearby.
East Bay gardeners love kiwis because they’re:
- Suitable for USDA Zones 8-10 found throughout Alameda County.
- Excellent for trellis or arbor training.
- Great for in-ground beds and containers (with the right size pot and soil).
Best Site & Soil Conditions in Alameda County
Selecting the Right Spot
Kiwi vines need:
- Full sun (at least 6–8 hours daily).
- Shelter from strong winds, especially in exposed yards or raised terraces.
- Good air circulation to help flowers set fruit and reduce disease.
Ideal Soil for Kiwi Fruit Vines
Kiwi vines prefer:
- Well-draining, fertile soil with consistent moisture.
- Slightly acidic to neutral pH (5.5–7.0).
In the East Bay clay soils, improving drainage is the key to success:
- Amend heavy clay with compost and pumice or horticultural grit when planting. A high quality planting mix designed for good aeration will also serve this purpose.
- Work organic matter such as certified organic compost or fir bark mulch into the hole and surrounding soil to boost fertility and structure.
Planting & Transplanting in Late Winter
Late winter (January–March) is a sweet spot for planting kiwis in the East Bay. The soil has warmed slightly, but vines are still dormant, which reduces transplant shock.
In-Ground Planting
- Dig a hole two times wider than the root ball and just as deep.
- Mix compost or high quality planting mix into the backfill soil.
- Set the plant so the root crown is level with or just slightly above the soil surface as it may settle a bit during the planting process.
- Water well after planting and apply a two-inch thick circle of bark mulch or wood chips around the plant keeping it a few inches away from the center stem.
Container Planting
Choose a container that:
- Accommodates 25–30 gallons of soil per vine.
- Has good drainage holes.
Use a premium potting mix blended with compost and perlite for good drainage. Fill the pot, set the plant at the same depth it grew in its nursery container, and water it thoroughly. Container kiwis will dry out faster than in-ground plantings, so monitoring moisture is especially important.
Watering, Mulch & Fertilizer
Watering Correctly
Kiwi vines like even moisture without soggy soil.
- Water deeply 1–2× per week in active growth.
- Increase frequency during heat waves..
- For containers, check soil moisture more often as they will dry out faster.
- Avoid letting the soil completely dry out once fruit begins to form.
Mulch Matters
Use organic mulch like:
- Shredded bark or fine wood chips
- Composted and lightly crushed leaves
- Straw
Mulch helps retain moisture and stabilizes soil temperatures through summer. Keep mulch 3–4 inches deep and away from vine crowns to prevent rot.
Fertilizing Kiwi Vines
At planting time, blend a slow-release organic fertilizer like E.B. Stone Sure Start into the soil. In subsequent seasons:
- Apply additional fertilizer in early spring as new growth begins.
- Follow up with a light feeding after the fruit sets.
Beware of using any fertilizer with a high nitrogen content as it can boost leafy growth at the expense of fruit. Instead, aim for a balanced formula like E.B. Stone All Purpose Plant Food. Alternatively, you can use organic options like composted chicken manure or fish emulsion to provide nutrients and build soil over time.
Training, Pruning & Pollination
Kiwi vines are vigorous climbers. Install a strong trellis or arbor before or at the time of planting. Training early helps establish the vines into an easy-to-manage framework. Plus, a well-trained vine will produce fruit more consistently.
Pruning for Health & Production
Pruning:
- Keeps vines manageable.
- Encourages sunlight penetration.
- Improves airflow.
In winter dormancy, prune to remove:
- Weak or tightly crossing vines and stems.
- Excess growth that clutters the trellis.
Pollination Tips
Only female vines produce fruit, so plant at least one male vine (like Tomuri) for every 6 female vines. Bees and wind help transfer the pollen between flowers.
Harvest & Enjoy
Kiwis typically ripen in late fall in the East Bay. The fruit is ready when it gives slightly under gentle pressure and sugars have sweetened through the season. Store them in the fridge or ripen at room temperature for eating later.
Final Thoughts
Growing kiwi vines like ‘Vincent Female’ and ‘Tomuri Male’ in the East Bay is incredibly rewarding when you give them the right conditions to thrive. Whether you’ve got a backyard bed or a sunny patio pot, these edible vines can provide years of fruit for you and your loved ones..
If you’re curious about planting kiwi this season, stop by Evergreen Nursery in San Leandro to talk plants with our knowledgeable staff. We’re happy to help you choose the right vines, soil mixes, and tools for edible gardening success.
Recent articles
View all
Native Plant Extravaganza Featuring Homegrown Habitats San Leandro
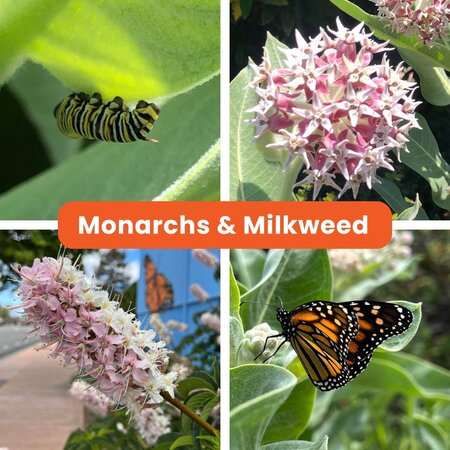
Monarchs and Milkweed in Your San Leandro Garden